10.5. Configuring the GRUB BootloaderGRUB is a powerful bootloader that can be used to boot Linux, Windows, DOS, and other operating systems as well as the Xen virtualization system. By mastering its configuration file and command-line options, you can configure GRUB to boot exactly the way you want. 10.5.1. How Do I Do That?GRUB is configured through the file /boot/grub/grub.conf; typical contents of this file look like this: # grub.conf generated by anaconda
#
# Note that you do not have to rerun grub after making changes to this file
# NOTICE: You have a /boot partition. This means that
# all kernel and initrd paths are relative to /boot/, eg.
# root (hd0,0)
# kernel /vmlinuz-version ro root=/dev/main/root
# initrd /initrd-version.img
#boot=/dev/hda
default=0
timeout=5
splashimage=(hd0,1)/grub/splash.xpm.gz
hiddenmenu
title Fedora Core (2.6.31-1.3420_fc6)
root (hd0,1)
kernel /vmlinuz-2.6.31-1.3420_fc6 ro root=/dev/main/root rhgb quiet
initrd /initrd-2.6.31-1.3420_fc6.img
title Other
        rootnoverify (hd0,0)
        chainloader +1
This configuration file specifies two menu options, identified by the title keywords: Fedora Core and Windows (which Anaconda labels Other by default). Lines that start with a pound sign are comments. The first lines after the initial comments set up the appearance of the bootloader at startup time:
The filename given in the splashimage line is in a special, GRUB-specific form: (hd0,1) specifies the first hard disk, second partition (/dev/hda2 in Linux terminology), and /grub/splash.xpm.gz identifies the pathname on that drive. Because /dev/hda1 is normally mounted on /boot, the full pathname within the Fedora system is /boot/grub/splash.xpm.gz.
The remainder of this file configures the two menu options. The first one consists of these four lines: title Fedora Core (2.6.31-1.3420_fc6 )
root (hd0,1)
kernel /vmlinuz-2.6.31-1.3420_fc6 ro root=/dev/main/root rhgb quiet
initrd /initrd-2.6.31-1.3420_fc6.img
Each line provides specific information:
The other title entry is simpler: title Other
rootnoverify (hd0,0)
chainloader +1
The lines in this entry invoke the Windows Stage 2 bootloader, found at the start of the Windows partition:
10.5.1.1. Customizing the GRUB menuYou can directly edit the GRUB configuration file to change the appearance of the boot process. To eliminate the boot menu entirely and directly boot the default entry, set the timeout value to zero: timeout=0 This is a useful setting for end-user, single-boot systems with a stable kernel. On the other hand, if you have several operating systems installed, it may be convenient to remove the hiddenmenu line and use a longer timeout: timeout=20 To turn the timeout off and wait indefinitely for the user to select the operating system, remove the timeout line from the file. 10.5.1.2. Using your own splash imageYou can also customize or replace the boot image to include your company logo or a personalized message. Use the GIMP graphics editor to create a 640x480 image. Reduce the number of colors by using the GIMP menu option Image
Save the image in the /boot/grub directory, using the file extension .xpm.gz. Another way to generate a splash image is to convert an existing landscape-oriented digital photo or a desktop wallpaper file using the ImageMagick convert program: # convert -resize 640x480 -colors 14 photo.jpg /boot/grub/new_splash.xpm.gz Finally, edit the splashimage line to point to your new creation: splashimage=(hd0,1)/grub/new_splash.xpm.gz An example of a modified splash image is shown in Figure 10-22. Figure 10-22. Modified splash image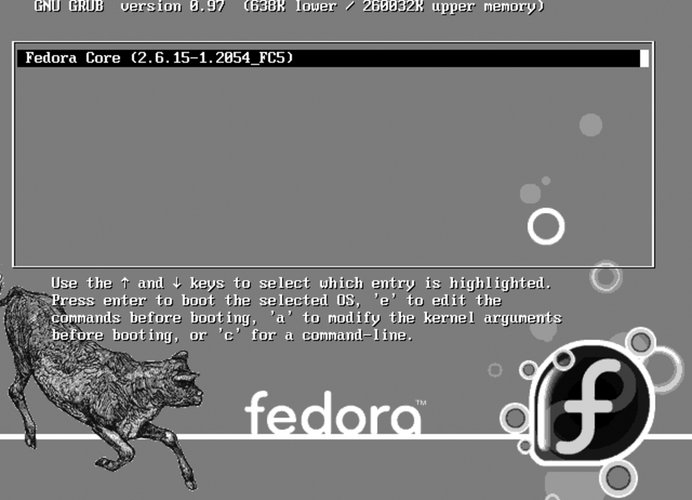
10.5.1.3. Creating additional boot entriesCreating additional boot entries is simply a matter of entering additional lines with the options that you want. For example, you could create two separate entries for Fedora Coreone for runlevel 5 (GUI) and one for runlevel 3 (text mode): title Fedora Core
- Graphical Login (2.6.31-1.3420_fc6 )
root (hd0,1)
kernel /vmlinuz-2.6.31-1.3420_fc6 ro root=/dev/main/root rhgb quiet
initrd /initrd-2.6.31-1.3420_fc6 .img
title Fedora Core - Text Login (2.6.31-1.3420_fc6 )
root (hd0,1)
kernel /vmlinuz- 2.6.31-1.3420_fc6 ro root=/dev/main/root rhgb quiet 3
initrd /initrd-2.6.31-1.3420_fc6 .imgThese two options are identical except for the descriptions on the title lines and the addition of the number 3 to the end of the kernel line for text-mode entry.
10.5.1.4. Installing GRUB's boot record from FedoraAnaconda normally installs the GRUB boot record on the first disk drive automatically. There are two situations where it may be necessary to manually install GRUB on an existing system:
The easiest way to install GRUB is to use the grub-install script: # grub-install --root-directory=/boot /dev/hda Installation finished. No error reported. This is the contents of the device map /boot/boot/grub/device.map. Check if this is correct or not. If any of the lines is incorrect, fix it and re-run the script \Qgrub-install'. (fd0) /dev/fd0 (hd0) /dev/hda (hd1) /dev/hdb (hd2) /dev/hdc (hd3) /dev/sdb The --root-directory argument specifies the root directory for the boot files and should be used only if /boot is a mount point for a separate boot partition. The drive argument at the end of the line (/dev/hda) specifies the hard drive that GRUB will be installed on.
10.5.1.5. Installing GRUB's boot record from a GRUB DVD or floppy diskSometimes the GRUB boot record gets damaged, making it impossible to boot the system normally. It may be necessary to boot from a GRUB DVD or floppy disk to fix this type of problem. To create a GRUB DVD on a Fedora system (obviously not the one that won't boot!), enter these commands: # cd /usr/share/grub/
# growisofs -Z /dev/cdrom -R -b stage2_eltorito -no-emul-boot -boot-load-size 4 -boot-info-table i386-redhat
To create a bootable floppy instead of a DVD: # cd /usr/share/grub/i386-redhat
# cat stage1 stage2 >/dev/fd0
Boot your system with this disc or floppy. A GRUB command prompt will appear, as shown in Figure 10-23. Figure 10-23. GRUB command prompt from a CD/DVD boot
At this prompt, search for your stage1 file: grub> find /boot/grub/stage1 Error 15: File not found grub> find /grub/stage1 (hd0,0) If your boot files are in your root filesystem, GRUB will find /boot/grub/stage1, but if you have a separate /boot partition, GRUB will find /grub/stage1. In the previous example, the partition (hd0,0) contains the stage1 file. Make this partition your root partition: grub> root (hd0,0) Filesystem type is ext2fs, partition type 0x83 Now instruct GRUB to set up the boot record on that drive: grub> setup (hd0) Checking if "/boot/grub/stage1" exists... no Checking if "/grub/stage1" exists... yes Checking if "/grub/stage2" exists... yes Checking if "/grub/e2fs_stage1_5" exists... yes Running "embed /grub/e2fs_stage1_5 (hd0)"... 15 sectors are embedded. succeeded Running "install /grub/stage1 (hd0) (hd0)1+15 p (hd0,0)/grub/stage2 /grub/grub .conf"... succeeded. Done
You can now remove the GRUB disc/floppy and boot directly from the hard drive. 10.5.1.6. Editing boot optionsTo temporarily override a GRUB menu option, select a menu option on the boot menu using the up/down arrow keys, and then press E (for edit). The screen shown in Figure 10-24 will be displayed.
Figure 10-24. Selecting a menu-entry line to edit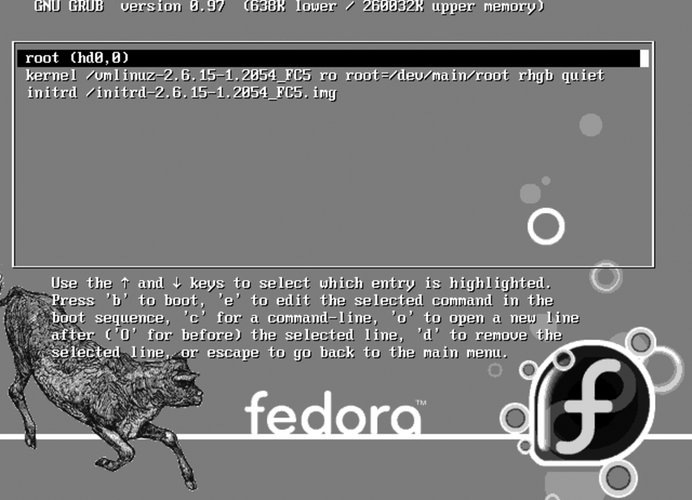
Use the arrow keys to select the line you wish to edit, and then press E again. You can now move across the line using the arrow keys, as shown in Figure 10-25. Type new text to insert it into the line, or use the Backspace/Delete keys to remove text. Press Enter when done. Figure 10-25. Edit a line in a menu entry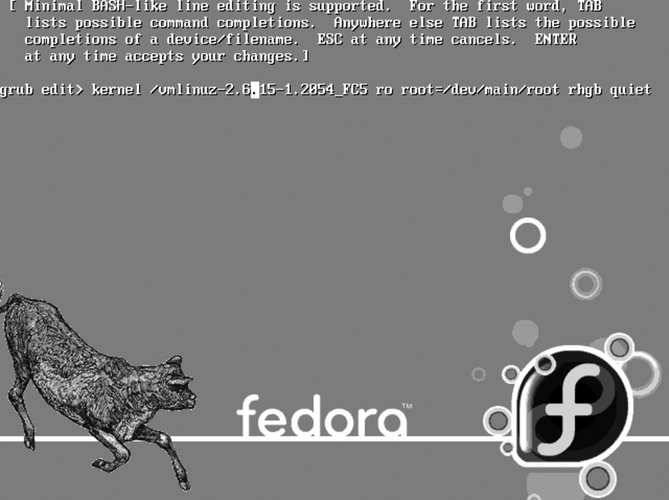
Press Enter to accept your changes or Esc to undo them. In either case you will return to the menu-entry display shown in Figure 10-24; press B to boot, or press Esc to return to the boot menu. As a shortcut, if you are adding boot options only to an existing menu entry, select the entry using the up/down arrow keys, then press A (for append). You can then type the additional option(s), such as a runlevel. Press Enter to proceed with booting or Esc to cancel and return to the boot menu. 10.5.1.7. Installing or changing a GRUB passwordTo protect against the unauthorized use of runlevel S or other boot options, it's a good idea to add a password entry to the boot menu. If you didn't do this during the installation, you can add the password at any time by following these steps: Generate an encrypted password with the grub-md5-crypt command: $ grub-md5-crypt
Password:
bigsecret
Retype password:
bigsecret
$1$f1z061$j/UEYyBn0e0996w0gjq4k/The line in bold at the bottom of the listing is the encrypted (scrambled) version of the password. Next, edit the /boot/grub/grub.conf file and add this line at the top, substituting the password you just generated: password --md5 $1$f1z061$j/UEYyBn0e0996w0gjq4k/
When you boot the system, you will still be able to select a boot menu entry, but to perform any advanced operations (such as appending runlevel information to a boot entry), you will need to enter the password. 10.5.2. How Does It Work?GRUB actually consists of four pieces of software, plus some utilities:
During boot, the system BIOS loads stage 1 as the boot record and executes it, which then loads stage 1.5 (if necessary) and finds stage 2. stage 2 then seeks out the GRUB configuration file menu.lst (a symbolic link to grub.conf, which the Fedora developers apparently consider to be a better name). The GRUB command shell supports over three dozen commands; most of these are never used except by experts and developers. Instead, most users interact with the GRUB menu. The grub.conf file permits a set of boot options to be presented to the user as a menu entry, removing most of the complexity from the user's view. A typical Linux entry in grub.conf sets the root filesystem, which is mounted by GRUB to enable access to the kernel and other boot drives. The entry also specifies the name of the kernel and initrd ramdisk to be loaded into memory, and also indicates any configuration options that are to be passed to the kernel. 10.5.3. What About...10.5.3.1. ...an archive of GRUB splash images?The author of the splash-image code maintains a small gallery of tested splash images at http://ruslug.rutgers.edu/~mcgrof/grub-images/images/ and an archive at http://ruslug.rutgers.edu/~mcgrof/grub-images/images/working-splashimages/. 10.5.3.2. ...dual-booting between different Linux distributions?This works well. Simply add the entries for the other Linux distributions to the active /boot/grub/grub.conf (or /boot/grub/menu.lst) file. This can be done by specifying that the second Linux distribution install GRUB at the start of that distribution's root filesystem partition instead of placing it in the master boot record for the drive. Then copy the /boot/grub/grub.conf entries from the second Linux distribution to the first one. 10.5.4. Where Can I Learn More?
|

 Mode
Mode