10.6. Using Rescue Mode on an Installation DiscThe Fedora Core installation DVDor disc 1 of the CD setcan be used to boot into a rescue mode, which lets you access a Fedora system installed on a hard disk without booting from that hard disk. This can be used to recover from many types of system failure or badly misconfigured startup scripts. 10.6.1. How Do I Do That?Inset your Fedora installation disc (DVD or CD 1) into the system and boot from it. At the boot prompt, enter: boot: linux rescue
You will be presented with the standard language and keyboard menus (see Figures 1-5 and 1-6 in Chapter 1), and then the question shown in Figure 10-26 will be displayed. Figure 10-26. Network interface question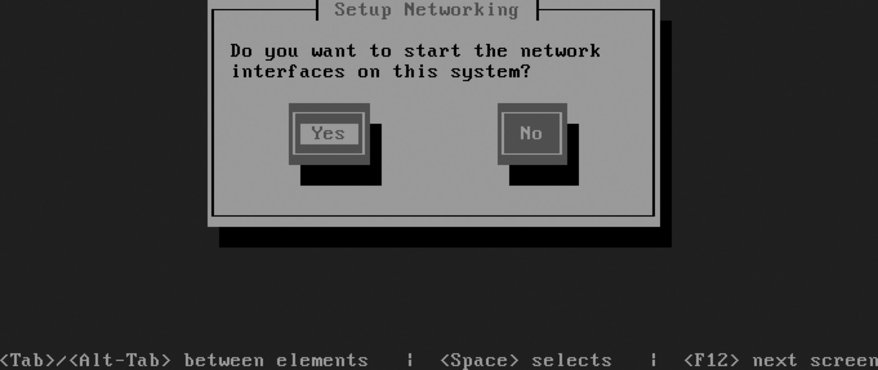
If you want to be able to transfer files to and from the system (for example, to back up critical data), answer Yes; otherwise, answer No. If you answer Yes, the standard network configuration dialog will appear, enabling you to select DHCP network configuration or manually enter the network details. Figure 10-27 shows the next screen, which offers to mount your hard disk directories for you. If you need to access files on your hard disk, select Continue; if you need to access files on your hard disk but want to avoid the possibility of damaging any files, select Read-Only; and if you do not want to mount the hard disk filesystems (for example, because you want to work on the filesystems first, resizing or repairing them), select Skip. Figure 10-27. Hard disk mounting dialog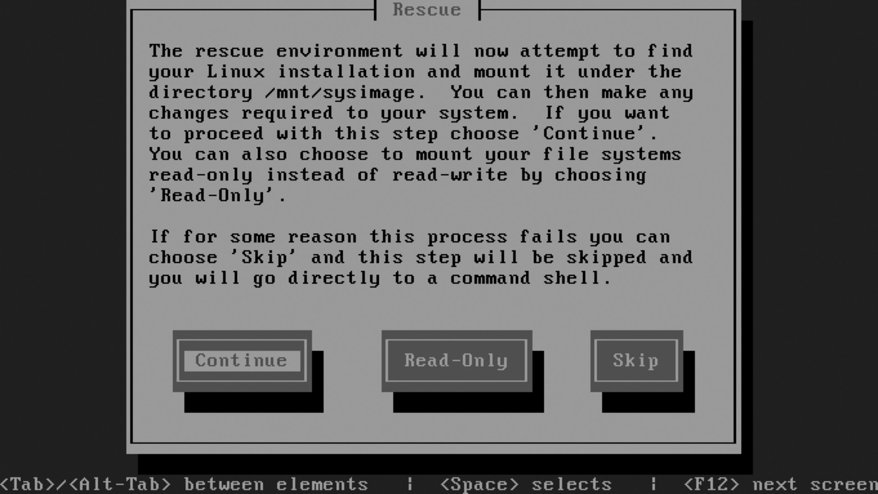
Figure 10-28 shows the final dialog that will be displayed before a root shell is opened, which informs you whether the hard disk filesystems were mounted. Select OK to proceed to a root shell. Figure 10-28. Final dialog before the rescue-mode shell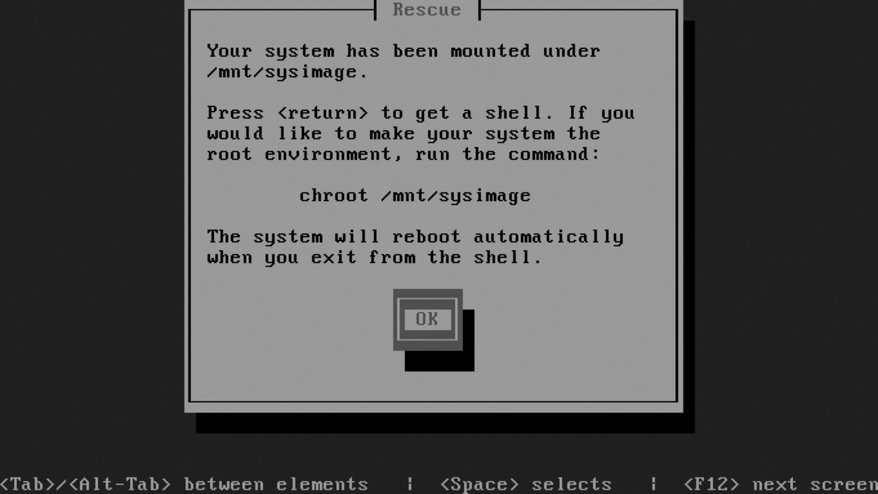
A minimal environment is available in the rescue-mode shell, providing access to the most important system administration commands. If you requested that the hard disk filesystems be mounted, the mount point will be /mnt/sysimage, and the mounts will be cascaded properly. Therefore, if you have separate /boot and /home filesystems, they will be mounted under /mnt/sysimage/boot and /mnt/sysimage/home. If you selected a read/write mount, you can temporarily make the root directory of the hard disk your root directory using the chroot command: sh-3.1# chroot /mnt/sysimage
You can now access directories in their usual locations (/etc, /home, and so forth), and you'll have access to all of the software installed on the hard disk.
Press Ctrl-D (for done) to exit from the chroot shell and return to the normal rescue shell. If you chose not to mount your hard disk filesystems, any LVM volume groups on your hard disks will be inaccessible. To access the VGs, issue these commands: sh-3.1# lvm vgscan Reading all physical volumes. This may take a while... Found volume group "main" using metadata type lvm2 sh-3.1# lvm vgchange -ay 2 logical volumes in volume group "main" now active You can then access the logical volumes as /dev/<pv>/<lv> (for example, /dev/main/root). When you are finished with the shell, press Ctrl-D. The system will automatically reboot. 10.6.2. How Does It Work?Rescue mode uses the same Linux kernel, initrd ramdisk, and device probing that are used during the installation process to create a minimal work environment using only software loaded from the installation disc. The same code that is used to detect and mount existing Fedora partitions for an upgrade installation is used to mount the partitions during rescue mode. The chroot command changes the definition of the root directory for one processin this case, a shelland any processes started by that shell. Changing the root directory effectively changes the PATH so that the software installed in the chroot environment (software on the hard disk) is used while the chroot is active. When you exit from the chroot shell, the root directory reverts to the root directory of the installation session, which is a ramdisk. 10.6.3. What About...10.6.3.1. ...copying files to or from another machine while in rescue mode?The scp command is available in rescue mode and can be used to copy files to or from another Fedora system (or other Linux host). You must enable the network interfaces in order for this to work. To copy a file from an FTP or HTTP server, use wget: sh-3.1# wget http://192.168.1.2/help.txt 10.6.3.2. ...using a GUI while in rescue mode?Unfortunately, there's not enough of the supporting infrastructure in place in rescue mode to support the use of a GUI. 10.6.3.3. ...accessing software from the hard disk without using chroot?Set your path to include directories on the mounted hard disk filesystems: sh-3.1# PATH=$PATH:/mnt/sysimage/bin:/mnt/sysimage/usr/bin: /mnt/sysimage/sbin:/mnt/sysimage/usr/sbin:/mnt/sysimage/usr/local/bin
10.6.4. Where Can I Learn More?
|
