Creating an Application Switchboard
When you're creating an application with distribution to users in mind, you need to build the application around forms. This means that everything in the application needs to be forms driven. The application generally should begin by displaying a Main switchboard. The Main switchboard can then navigate the user to additional switchboards, such as a Data Entry switchboard, Reports switchboard, Maintenance switchboard, and so on. The easiest way to create such a switchboard is by using the Switchboard Wizard. Here's how it works:
Choose Tools | Database Utilities | Switchboard Manager. If you have not yet created a switchboard for the application, the Switchboard Manager message box appears, asking if you would like to create one, as shown in Figure 24.7.

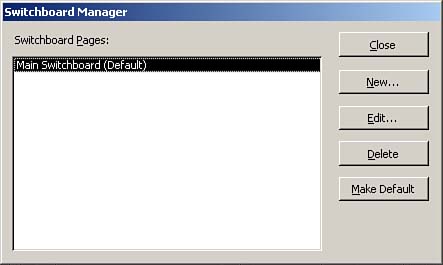
Click Yes. The Switchboard Manager dialog box appears, as shown in Figure 24.8. Notice that Access automatically creates a Main Switchboard.
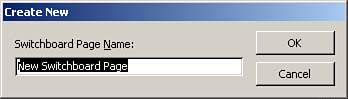
Add additional switchboard pages. To do this, click New. The Create New dialog box appears, as shown in Figure 24.9.
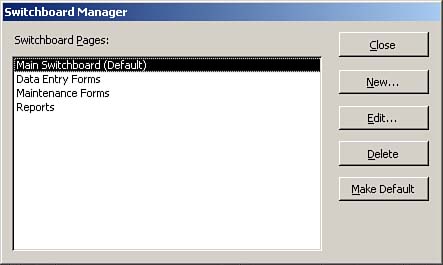
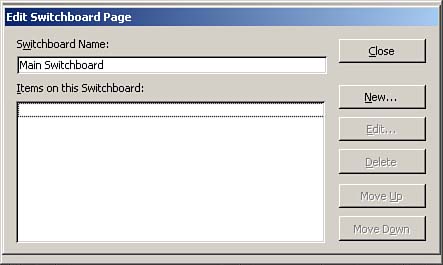
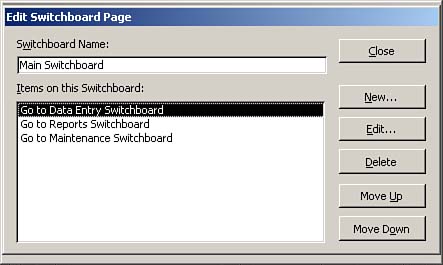
Type a name for the new switchboard page and click OK. Repeat steps 3 and 4 for each switchboard page you want to add. When you are done adding pages, the Switchboard Manager dialog box should look something like the one in Figure 24.10. You now are ready to add items to each switchboard page. To add items to the Main Switchboard, click the Main Switchboard entry and click Edit. The Edit Switchboard Page dialog box appears, as shown in Figure 24.11.
Click New to add a new item to the Main Switchboard. The Edit Switchboard Item dialog box appears, as shown in Figure 24.12.
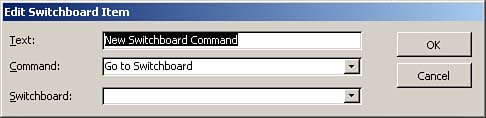
In the Text text box, enter the text for the new switchboard item. Select an appropriate command from the Command drop-down list box. The commands that are available in this list box control the capability to go to another switchboard, open a form, and open a report. The third item in the Edit Switchboard Item dialog box varies, depending on which command you select from the Command drop-down list box. If you select Go to Switchboard from the Command drop-down list box, for example, the third option enables you to select from available switchboards. If you select Open Form in Edit Mode, the third option enables you to select from available forms. If you select Open Report, the third option enables you to select from available reports. Select an appropriate value for the third option and click OK. Repeat steps 6 through 10 to add each item to the Main Switchboard. After you add entries to the Main Switchboard, the Edit Switchboard Page dialog box should look similar to the one in Figure 24.13. Click Close to return to the main Switchboard Manager dialog box.
Repeat steps 6 through 12 for each switchboard page. When you are ready to generate the switchboard, click Close on the main Switchboard Manager dialog box. Access generates the switchboard.
Follow these steps to add, remove, or edit items from an existing switchboard:
Choose Tools | Add-ins | Switchboard Manager. The Switchboard Manager dialog box appears. Select the switchboard page you want to affect. Click Delete to delete the page, click Edit to make changes to the page, or click Add to add a new page. If you click Edit, the Edit Switchboard Page dialog box appears. You can click the Move Up and Move Down buttons to move items up and down on the switchboard page. You also can add, edit, and delete items from the page. When you are finished, click OK. The changes take effect immediately.
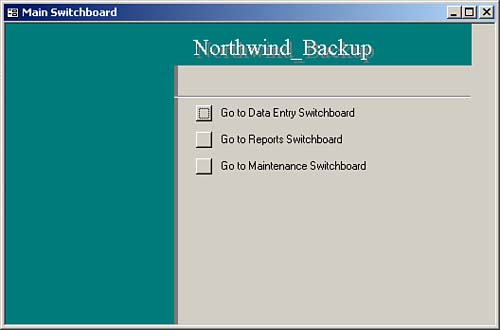
Figure 24.14 shows a completed switchboard.
 |