Displaying Records

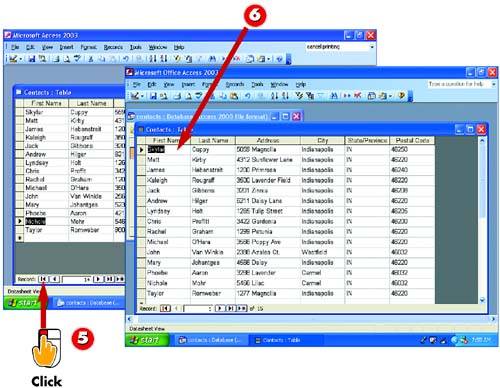
 | Open the table whose records you want to view. An arrow points to the current record, and the navigation bar lists the record's number and the total number of records in the table. |
 | To move to the next record in the table, click the Next Record button in the navigation bar. |
 | The next record in the table is selected. To move to the last record in the table, click the Last Record button. |
 | The last record in the table (in this case, record 15), is selected. To move to the previous record (that is, record 14), click the Previous Record button. |
|
At first, a database table may include just a few records. As you continue to add records, however, that number will grow. To help you view all the records in a table, the table window includes a row of scroll buttons that allow you to scroll up and down in the window in case the record you need is not currently displayed onscreen. Alternatively, you can use the navigation buttons found at the bottom of the table window to move from record to record, as outlined here. |
 | The second-to-last record (record 14) is selected. Click the First Record button to select the first record in the table. |
 | The first record is selected. |
|
Adding a New Record
The navigation bar also includes a button for creating a new record. You can click this button or the button in the Standard toolbar in the main Access window to create a new record. See the next task for more information. |
 |