Select the menu option or press. The System window displays. Click on the Project Glossary tab.
Add a Glossary Entry
To add an entry to the glossary, follow the steps below:
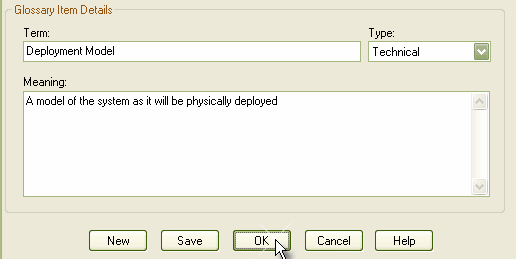
| 1. | Double-click on the Project Glossary tab, or right-click on the tab and select the context menu option. The Glossary Detail dialog displays.
|
| 2. | Enter the details for the glossary item: the , and . |
| 4. | To create another entry, click on the button. |
| 5. | To close, click on the button. |
Modify a Glossary Entry
To modify a glossary entry, either:
| 1. | Double-click on the entry to modify in the list on the Project Glossary tab, or |
| 2. | Right-click on the entry to modify in the list on the Project Glossary tab and select the context menu option. |
The Glossary Detail window displays; edit the fields as required.
Delete a Glossary Entry
To delete a glossary entry, follow the steps below:
| 1. | Right-click on the entry to modify in the list on the Project Glossary tab. The context menu displays. |
| 2. | Select the menu option. |


