Visual Studio 2005 is a tool-rich programming environment containing all the functionality you'll need to create large or small C# projects. You can even create projects that seamlessly combine modules from different languages. In the first exercise, you'll start the Visual Studio 2005 programming environment and learn how to create a console application.
In Microsoft Windows, click the Start button, point to All Programs, and then point to Microsoft Visual Studio 2005.
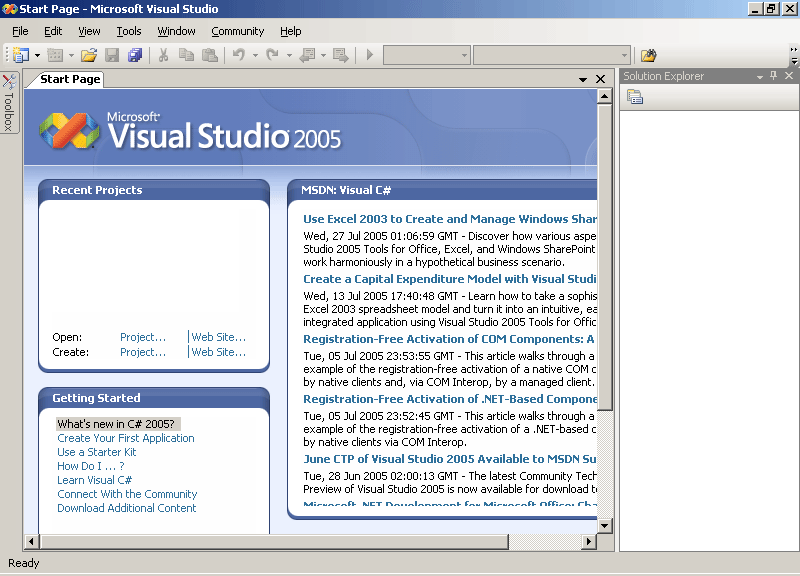
Click the Microsoft Visual Studio 2005 icon. Visual Studio 2005 starts.
On the File menu, point to New, and then click Project. The New Project dialog box opens. This dialog box allows you to create a new project using various templates, such as Windows Application, Class Library, and Console Application, that specify the type of application you want to create.
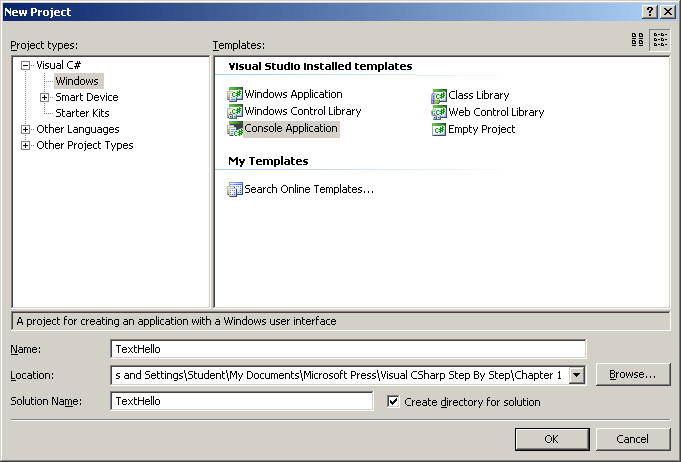
In the Templates pane, click the Console Application icon.
In the Location field, type C:\Documents and Settings\YourName\My Documents\Microsoft Press\Visual CSharp Step by Step\Chapter 1.
Replace the text YourName in this path with your Windows user name. To save a bit of space throughout the rest of this book, we will simply refer to the path “C:\Documents and Settings\YourName\My Documents” as your “\My Documents” folder.
In the Name field, type TextHello.
Ensure that the Create Directory for Solution check box is checked and then click OK. The new project opens.
The menu bar at the top of the screen provides access to the features you'll use in the programming environment. You can use the keyboard or the mouse to access the menus and commands exactly as you can in all Windows-based programs. The toolbar is located beneath the menu bar and provides button shortcuts to run the most frequently used commands. The Code and Text Editor window occupying the main part of the IDE displays the contents of source files. In a multi-file project, each source file has its own tab labeled with the name of the source file. You can click the tab once to bring the named source file to the foreground in the Code and Text Editor window. The Solution Explorer displays the names of the files associated with the project, among other items. You can also double-click a file name in the Solution Explorer to bring that source file to the foreground in the Code and Text Editor window.

Before writing the code, examine the files listed in the Solution Explorer, which Visual Studio 2005 has created as part of your project:
This is the top-level solution file, of which there is one per application. If you use Windows Explorer to look at your \My Documents\Visual CSharp Step by Step\Chapter 1\TextHello folder, you'll see that the actual name of this file is TextHello.sln. Each solution file contains references to one or more project files.
This is the C# project file. Each project file references one or more files containing the source code and other items for the project. All the source code in a single project must be written in the same programming language. In Windows Explorer, this file is actually called TextHello.csproj, and it is stored in your \My Documents\Visual CSharp Step by Step\Chapter 1\TextHello\TextHello folder.
This is a folder in the TextHello project. If you expand it, you will see that it contains a file called AssemblyInfo.cs. AssemblyInfo.cs is a special file that you can use to add attributes to a program, such as the name of the author, the date the program was written, and so on. There are additional attributes that you can use to modify the way in which the program will run. These attributes are outside the scope of this book.
This is a folder that contains references to compiled code that your application can use. When code is compiled, it is converted into an assembly and given a unique name. Developers use assemblies to package up useful bits of code that they have written for distribution to other developers that might want to use them in their applications. Many of the features that you will be using when writing applications using this book will make use of assemblies provided by Microsoft with Visual Studio 2005.
This is a C# source file, and is the one displayed in the Code and Text Editor window when the project is first created. You will write your code in this file. It contains some code that Visual Studio 2005 provides automatically, which you will examine shortly.