Earlier versions of Visual Studio (for example, Visual Studio 2003) automatically built ASP.NET applications when you hit the Build | Build Solution menu item. All the source code (the VB and the CS files) was compiled into a resulting assembly named the same as the project. This precompiled assembly went into the project's \bin directory and became part of the files used for deployment. ASP.NET will still precompile an application for you. However, now you have two choices as far as recompiling goes—using a virtual path (for applications already defined in IIS) and a physical path (for sites that live on the file system). In addition, you must be deliberate about precompiling. The two precompiling options include (1) precompiling for performance and (2) precompiling for deployment. Precompiling a Web site involves using command line tools.
The first option is also known as “precompiling in place.” This is useful for existing sites for which you want to enhance performance. When you precompile the source code behind your site, the primary benefit is that ASP.NET doesn't have to run that first compilation when the site is hit for the first time. If your site requires frequent updates to the code base, you may see a small amount of performance improvement.
To precompile an IIS-based site in place, open a Visual Studio command window. Navigate to the .NET directory on your machine (probably Windows\Microsoft.Net\Framework\<versionnumber>). In that directory is a program named aspnet_compiler. Execute the aspnet_compiler program, with the name of the Web site as known by IIS following the –v switch. For example, if IIS has a virtual directory named MySite, the following command line will build it. The precompiled application ends up in the Temporary ASP.NET Files directory under your current .NET directory.
aspnet_compiler -v MySite
If the Web site is a file system Web site without an IIS virtual directory, use the –p command line parameter to specify the physical path.
This compilation option precompiles the code and places it in the bin directory for the application.
Compiling for deployment involves compiling the code for a site and directing the output to a special directory from which it may be copied to the deployment machine or used in an install project (as we'll see momentarily). In this case, the compiler produces assemblies from all ASP.NET source files that are normally compiled at run time. That includes the code for the pages, source code within the App_Code directory, and resource files.
To precompile a site for deployment, open a Visual Studio command window. Navigate to the .NET directory. Run the aspnet_compiler command line program, specifying the source as either a virtual path or physical path. Provide the target folder following the input directory. For example, the following command builds the code in the MySite virtual directory and puts in c:\MySiteTarget.
aspnet_compiler -v MySite c:\MySiteTarget
If you add a –u command line parameter at the end of the command line, the compiler will compile some of the code and leave the page code files to be compiled just in time.
Once the code is compiled, one of the options you have is to build a Web setup program. The following example illustrates creating a Web setup program.
Start by creating a new site. Make it an HTTP site. Name the site DeployThis.
Create some content for the site. For example, add a few pages to the site, or borrow content from an earlier example.
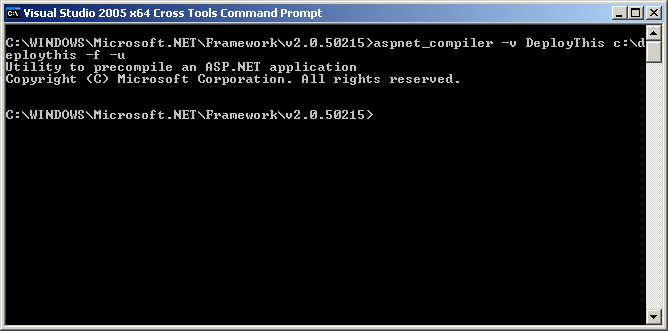
Precompile the site for deployment. Tell the aspnet_compiler to use the Deploy this virtual directory as the source and to direct it to a target holding directory. The following graphic illustrates the command line. Use the –u option at the end of the command line to instruct the compiler to make an updateable Web site.
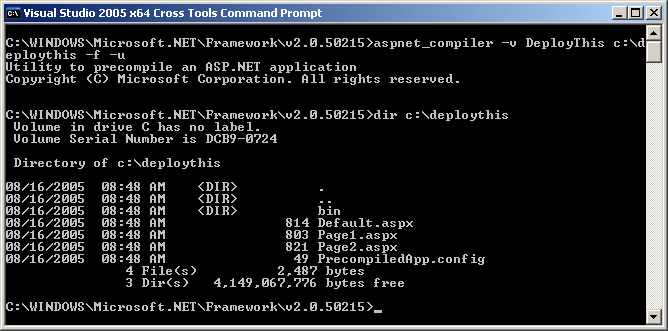
After the compiler runs, you'll have a target directory full of compiled code. The following graphic illustrates the results of the compilation.
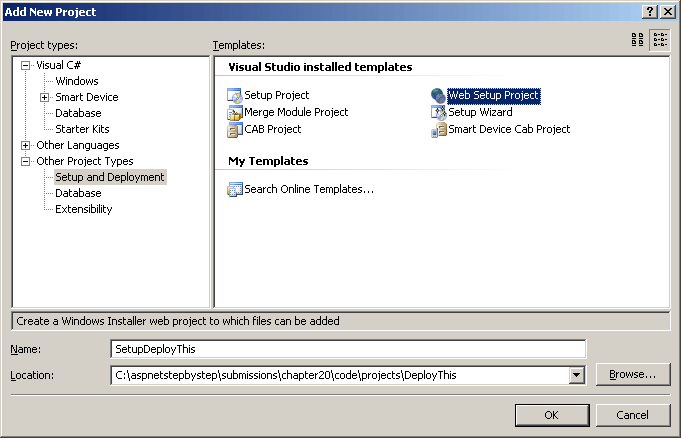
Add a second project to the solution. Make it a Web Setup Project, as shown in the following graphic. Name the project SetupDeployThis.
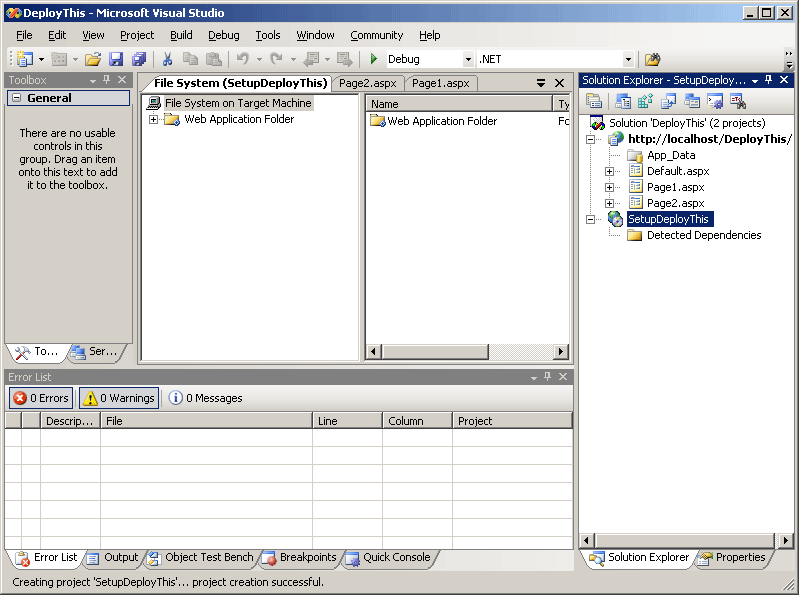
Visual Studio will generate a new setup project for you. You should see a screen like this after Visual Studio is done churning:
Right-click on the Web Application Folder to add the Web files. Navigate to the target directory containing the site code. This will be the precompile directory.
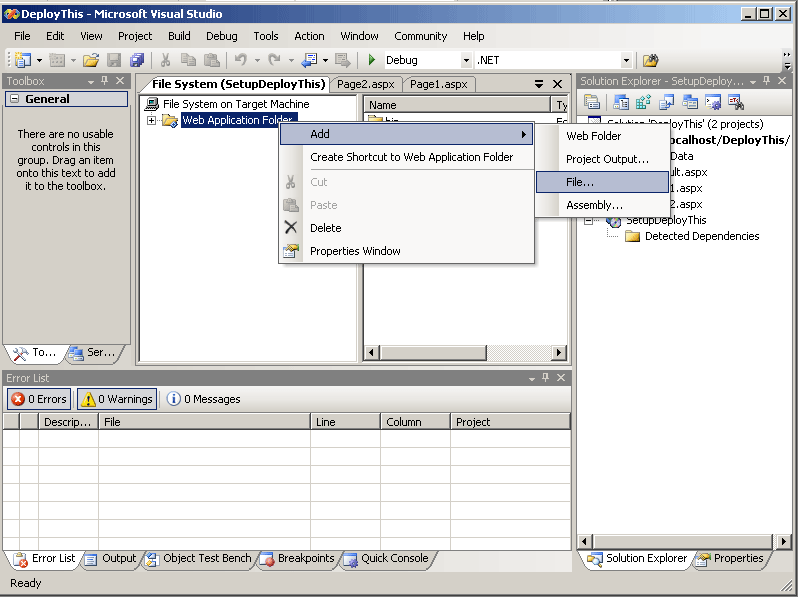
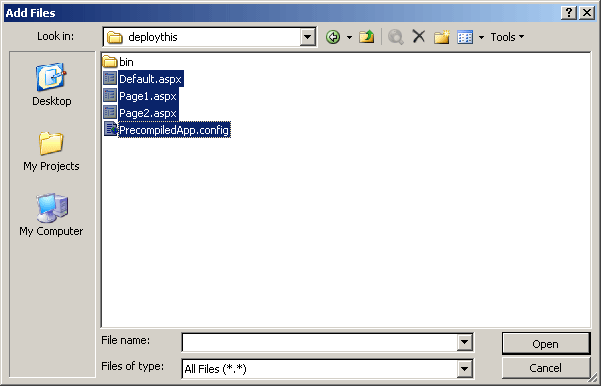
Add the Web files from the precompile directory.
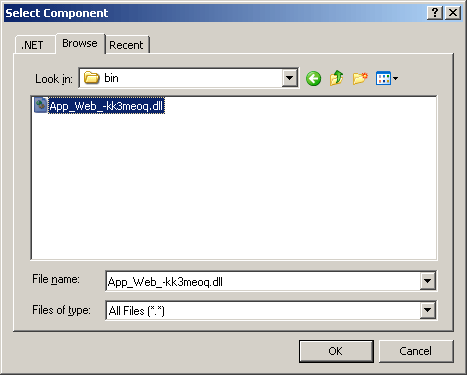
Add the dlls to the bin directory by right-clicking on the bin node to get the File Open dialog box. Then search for assemblies in the target directory's \bin directory.
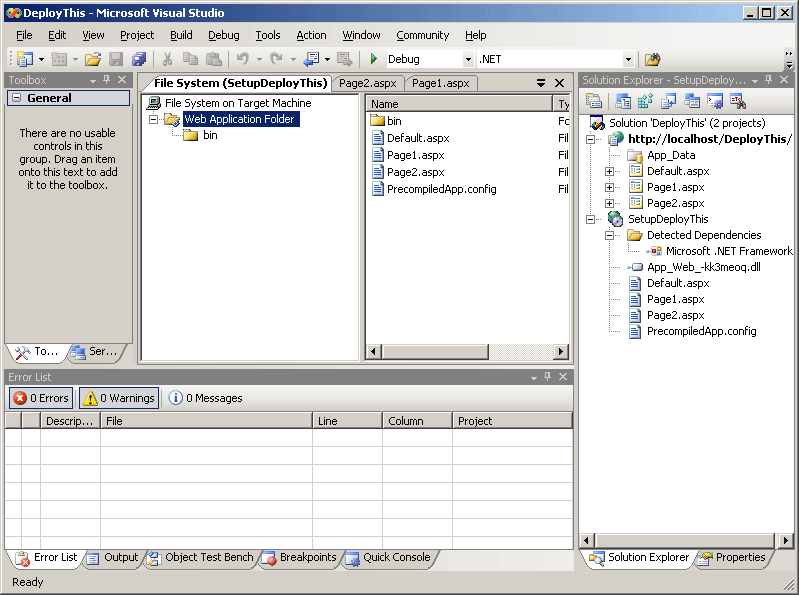
After adding all the files, the directory structure should look like this. The bin directory will have the site DLLs:
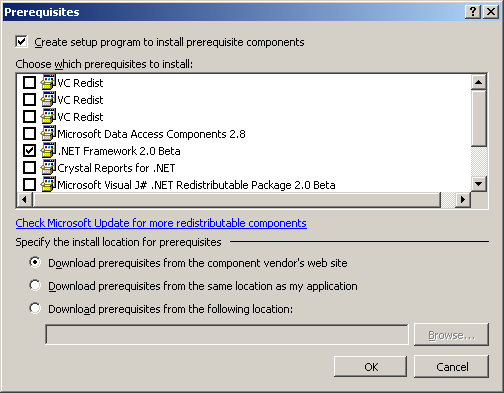
The Setup project properties include a prerequisite dialog box that you may review to ensure that certain prerequisites are installed on the end computer. The following graphic illustrates the prerequisites dialog box. Notice that the .NET Framework box is checked.
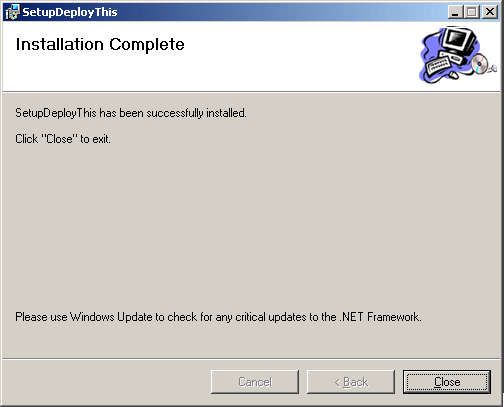
Right-click on the SetupDeployThis project and select Build. The resulting MSI file goes in the debug directory of the project.
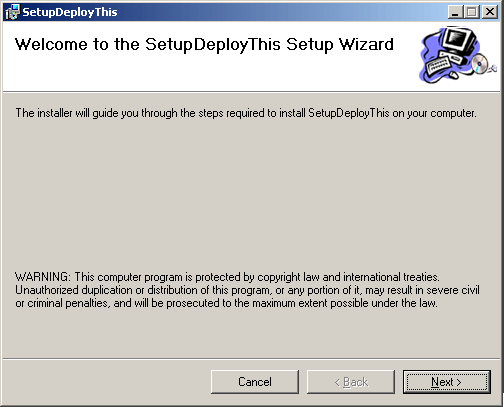
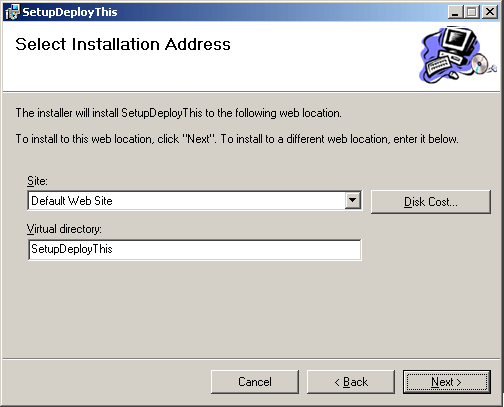
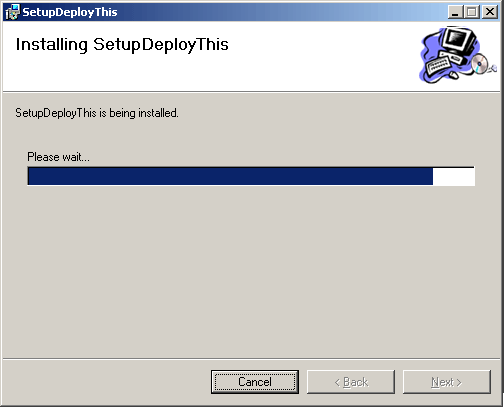
Try running the Microsoft Installer file (the MSI file). The MSI file will guide you through several steps as it installs the Web site, as shown in the following graphics:

Now examine IIS. Refresh the Default Web Site node and look for the SetupDeployThis virtual directory (unless you named it something else during the install process). IIS will have the SetupDeployThis site:
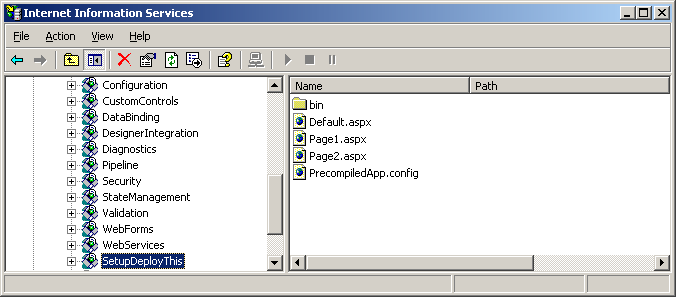
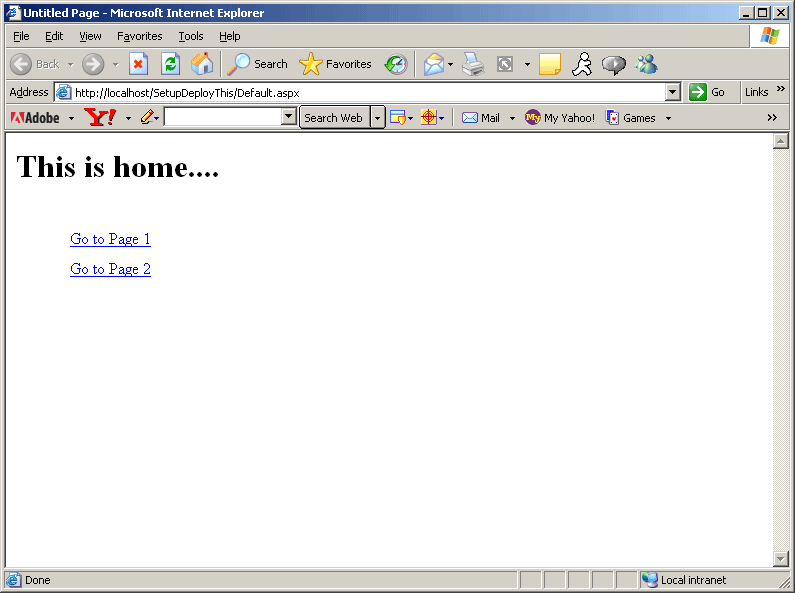
After the site is installed, you can surf to it as you can any other site.
Setting up Install packages is a good way to distribute a Web application across the set of servers. You can push the MSI file out to the server as necessary and run it. However, using an Install package isn't the only way to distribute the application. You may also literally copy the entire directory from a development machine to the server (XCOPY deployment), or you may use some other file transfer mechanism to move the bits.