The starting point for a custom control is System.Web.UI.Control, which defines the fundamental characteristics of a server control. You build a custom control by deriving from Control, overriding a few virtual methods here and there, and adding the methods, properties, and events that make your control unique. It’s also possible to write custom controls by deriving from FCL control classes such as DataGrid, but I’m assuming here and throughout the remainder of this chapter that your intent is to build controls from scratch rather than modify existing ones.
Control’s most important virtual method, and the method that’s overridden in almost every custom control, is Render. Render is called each time a control is executed—that is, when the page that hosts the control is requested. It affords a control the opportunity to render itself by emitting HTML to the client. Render receives through its parameter list an HtmlTextWriter reference whose Write method writes HTML to the output stream.
Figure 8-1 contains the source code for a simple control that writes “Hello, world” to a Web page. The using statements at the top of the file identify the namespaces containing the types that the control uses. The namespace statement encloses the class definition in a custom namespace named Wintellect. Namespaces aren’t optional when you write custom controls; control classes must be scoped to a namespace. The Hello class represents the control itself. It derives from System.Web.UI.Control, and it overrides the Render method that it inherits from its base class. Render does nothing more than write “Hello, world” to the output stream by calling HtmlTextWriter.Write.
Despite its simplicity, this example demonstrates three important principles of custom control programming:
-
Classes representing custom controls derive from System.Web. UI.Control
-
Custom controls render themselves to the client by overriding Control.Render
-
Custom control classes must be enclosed in namespaces
There’s more (of course!), but these principles permeate the fabric of custom control programming and are embodied in each and every sample presented in this chapter.
Before you can test the Hello control, you need to compile it. Here’s the command:
csc?/t:library?/out:HelloControl.dll?hello1.cs
The output is a DLL named HelloControl.dll that contains the control’s implementation. HelloControl.dll should be placed in the bin subdirectory of the application that uses the control. As you’re well aware by now, the application root’s bin subdirectory is a magic place that ASP.NET looks to resolve references to types not found in the assemblies ASP.NET links to by default. “Application root” is any directory that is an IIS virtual directory.
using?System;
using?System.Web.UI;

namespace?Wintellect
{
????public?class?Hello?:?Control
????{
????????protected?override?void?Render?(HtmlTextWriter?writer)
????????{
????????????writer.Write?("Hello,?world");
????????}
????}
}
Figure 8-1
The Web form in Figure 8-2 uses the Hello control to write “Hello, world” to a Web page. The statement
<win:Hello?RunAt="server" />
declares a control instance. The statement
<%@?Register?TagPrefix="win" Namespace="Wintellect"
??Assembly="HelloControl" %>
enables ASP.NET to make sense of the declaration. TagPrefix defines the prefix used in tags that declare instances of the control. Namespace identifies the namespace that the control belongs to. Assembly identifies the assembly in which the control is implemented. Note the absence of a TagName attribute. TagName isn’t needed for custom controls, as it is for user controls, because the control’s class name doubles as its tag name.
<%@?Register?TagPrefix="win" Namespace="Wintellect"
??Assembly="HelloControl" %>

<html>
??<body>
????<form?runat="server">
??????<win:Hello?RunAt="server" />
????</form>
??</body>
</html>
Figure 8-2
Here’s a three-step procedure for testing the Hello control:
-
Copy Hello1.aspx to your PC’s wwwroot directory.
-
Copy HelloControl.dll to wwwroot\bin.
-
Start your browser and type http://localhost/hello1.aspx into the address bar.
In response, a bare-bones Web page containing the text “Hello, world” should appear, as shown in Figure 8-3.
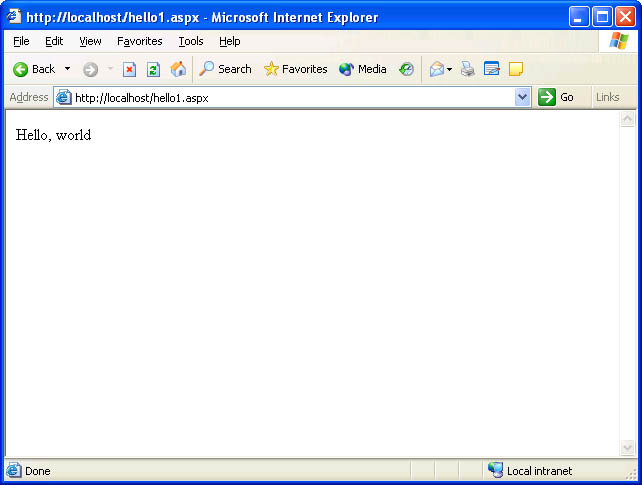 Figure 8-3
Hello demonstrates the basics of custom control authoring, but it’s merely a start. When you design a custom control, you should strive to make it as programmable as possible by including public properties that developers can use to tweak its appearance and behavior. Public properties double as attributes in tags that declare control instances and can also be utilized by server-side scripts. Adding a property is easy: you simply declare the property in the control class and implement its get and set methods as you would for any other managed type.
Figure 8-4 lists an improved version of the Hello control that implements a public property named Name. Rather than write “Hello, world” to the host page, the revised control writes “Hello” followed by the value encapsulated in the Name property.
using?System;
using?System.Web.UI;

namespace?Wintellect
{
????public?class?Hello?:?Control
????{
????????string?MyName?= "";

????????public?string?Name
????????{
????????????get?{?return?MyName;?}
????????????set?{?MyName?=?value;?}
????????}

????????protected?override?void?Render?(HtmlTextWriter?writer)
????????{
????????????writer.Write?("<h1>Hello, " +?Name?+ "</h1>");
????????}
????}
}
Figure 8-4
The Web form in Figure 8-5 uses the new and improved Hello control. The Name attribute in the control tag initializes the control’s Name property with the string “Jeff”, changing the text that appears in the Web page to “Hello, Jeff”. Because the output is enclosed in an <h1> element, the text appears in a headline font (Figure 8-6).
<%@?Register?TagPrefix="win" Namespace="Wintellect"
??Assembly="HelloControl" %>

<html>
??<body>
????<form?runat="server">
??????<win:Hello?Name="Jeff" RunAt="server" />
????</form>
??</body>
</html>
Figure 8-5
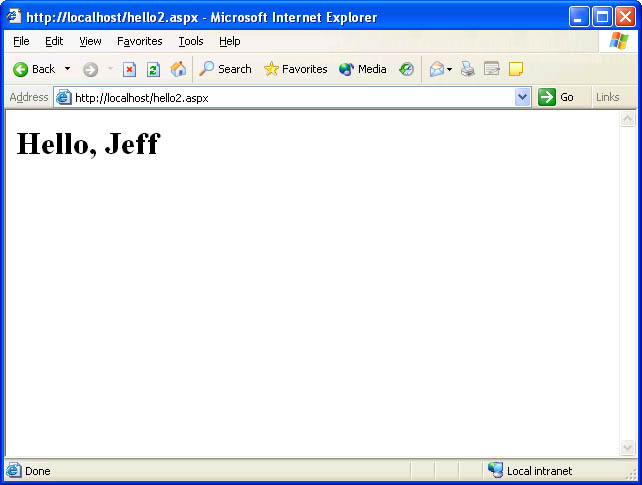 Figure 8-6
Write is one of many HtmlTextWriter methods that you can use in a control’s Render method to output HTML. WriteFullBeginTag, WriteEndTag, and other HtmlTextWriter methods simplify rendering code by letting the developer think in terms of HTML tags and attributes rather than raw text. For example, rather than write this:
writer.Write?("<h1>Hello, " +?Name?+ "</h1>");
You can write this:
writer.WriteFullBeginTag?("h1");
writer.Write?("Hello, " +?Name);
writer.WriteEndTag?("h1");
WriteFullBeginTag writes out the specified tag in angle brackets, while WriteEndTag outputs the specified tag surrounded by angle brackets and prefixed with a / symbol, as in </h1>.
This simple example belies the dramatic improvements that WriteEndTag and other HtmlTextWriter methods can lend to your code. Here’s a code snippet that uses Write to output an HTML <input> tag containing a number of attributes:
writer.Write?("<input?type=\"text\"");

writer.Write?(" name=\"");
writer.Write?(UniqueID);
writer.Write?("\"");

writer.Write?(" id=\"");
writer.Write?(ClientID);
writer.Write?("\"");

writer.Write?(" value=\"");
writer.Write?(Text);
writer.Write?("\"");

writer.Write?(">");
Here’s the equivalent code recast to use WriteBeginTag, WriteEndTag, and WriteAttribute. The WriteBeginTag method emits an HTML tag without a closing angle bracket so that attributes can be added. The WriteAttribute method adds an attribute to a tag started with WriteBeginTag:
writer.WriteBeginTag?("input");
writer.WriteAttribute?("type", "text");
writer.WriteAttribute?("name",?UniqueID);
writer.WriteAttribute?("id",?ClientID);
writer.WriteAttribute?("value",?Text);
writer.Write?(HtmlTextWriter.TagRightChar);
The rewritten code not only reads better, it executes faster, too. You’ll see numerous examples like this one in the chapter’s remaining sample controls.