Using a Database Template to Create a Database
You can use the Database Wizard to create a new database based on a template (a Customer database, for example). You can select options provided by the wizard to make the database suit your specific needs. After you have completed the process of running the wizard, you can then modify the design of any of the objects that the wizard creates.
To create a new database by using the Database Wizard, follow these steps:
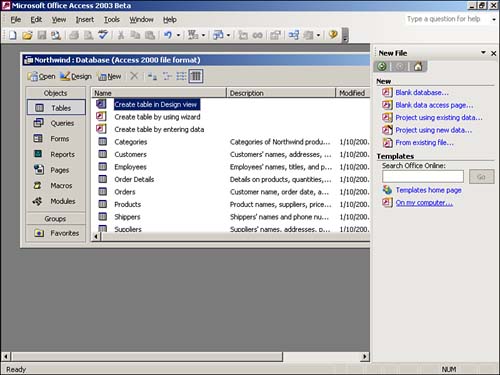
With the Database window active, select File | New. The New File panel appears on the right-hand side of the screen. Select On my computer from the list of options that appears below Templates on the right-hand side of the screen (see Figure 6.1). The Templates dialog box appears.
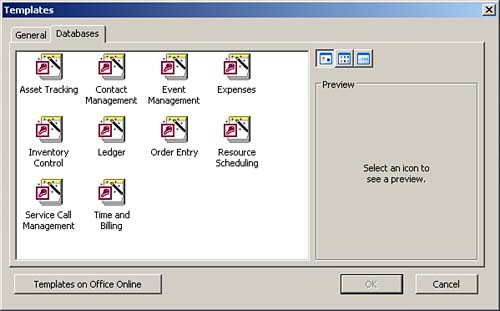
Select the Databases tab in the Templates dialog box (see Figure 6.2).
Double-click the desired template (for example, Contact Management). Type the filename and location for the new database. Click the OK button. The Database Wizard appears. Click Next. The wizard prompts you with a list of selected tables and fields (see Figure 6.3).
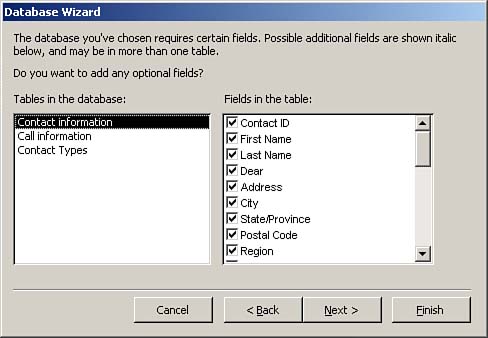
Scroll down to view the list of optional fields for each table (see Figure 6.4).

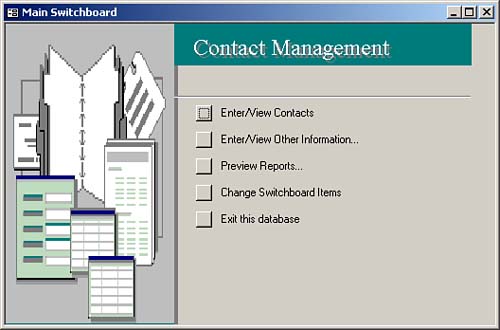
Click to include the desired optional fields. Click Next to continue. Select a style for the forms and click Next. Select a style for the reports and click Next. Select a title for the database and, if you want to, select a picture that Access should include on reports. Click Next. Click Finish to complete the process. The resulting application switchboard should look like the one shown in Figure 6.5.
 |  | The Database Wizard creates a switchboard that allows you to very easily add data to tables, view the data entered, and run reports. After you run the wizard, you can add new objects to the database and customize the existing objects to your liking. |
|
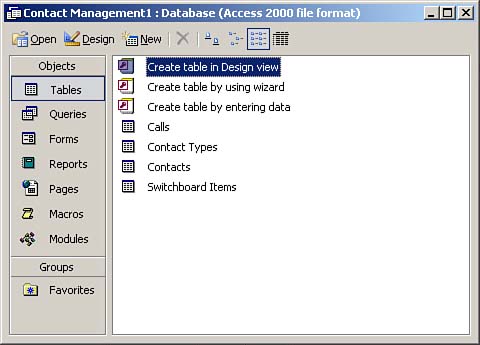
Press F11, and the Database window appears. Click Tables in the list of objects. Notice what tables the wizard has added to the database (see Figure 6.6).
Click the various object categories (tables, queries, and so on) to view the other types of objects that the Database Wizard created.
 |