Building a Table by Using a Wizard
The Table Wizard can assist you with the process of building basic tables. It provides you with the table structures necessary to collect data for many common personal and business systems.
To build a table by using the Table Wizard, follow these steps:
Select the Tables icon from the list of objects in the Database window. Double-click the Create Table by Using Wizard icon. The Table Wizard appears (see Figure 6.7).
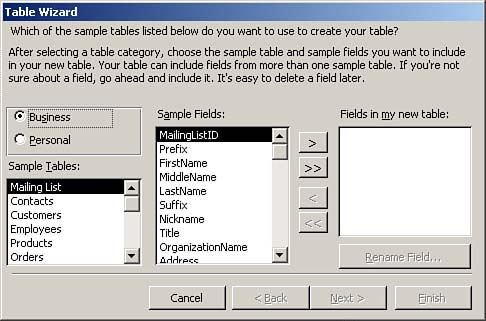
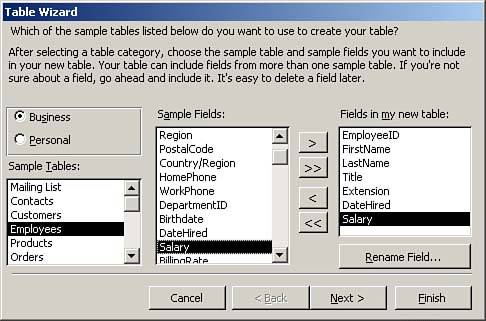
The first step in the Table Wizard lets you choose specific fields from one of many predefined tables. The tables are categorized as business and personal. If you select the Business option, you see a set of business-related tables; if you select Personal, you see a set of tables for Personal topics. After you have selected a type of table, you can specify which fields you want to include in the table. To do this, double-click the field you want or click the right-arrow button. In Figure 6.8, the EmployeeID, FirstName, LastName, Title, Extension, DateHired, and Salary fields are selected from the table called Employees.
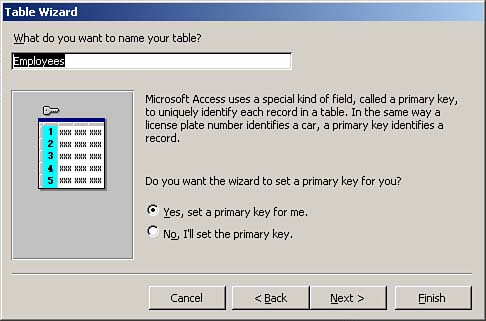
After you have selected the table and fields you want, click Next to open the dialog box shown in Figure 6.9. In this step of the Table Wizard, you name the table and indicate whether you want Access to set the primary key for you. (Primary keys are covered in more detail in Hour 8, "Creating Tables.") It's always a good idea for a table to have a primary key, which is used to uniquely identify each record. If you don't tell Access to set a primary key, you'll have the opportunity later to designate a unique field as the primary key. If you haven't entered a unique identifier (that is, some field that differentiates each record from the next) for the table, select Yes. Access then adds an AutoNumber field to the table and designates it as the primary key.
 | The industry standard is to begin table names with the tag tbl. For example, you should name the Employees table tblEmployees to make it easily recognizable as a table. |
 |
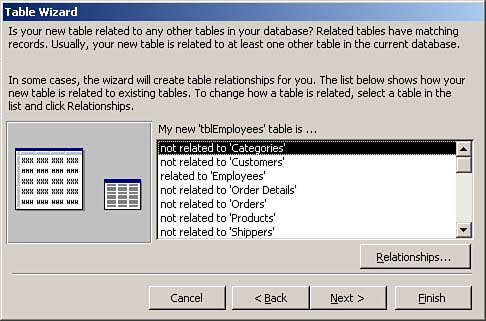
In the next step of the Table Wizard (see Figure 6.10), Access tries to identify relationships between the new table and existing tables (if there are any existing tables). The process of establishing relationships is an important part of Access development. Relationships allow you to normalize a database and to "flatten out" the data structure at runtime. To normalize means to test tables against a series of rules to ensure that the application runs as efficiently as possible. Relationships also help you ensure the integrity of an application's data. For example, you can define a relationship so that it's impossible to enter orders for customers who don't exist. Although Access automatically identifies relationships if it can, you can modify or add relationships by clicking the Relationships button. When you're satisfied with the relationships that you have established, click Next. |
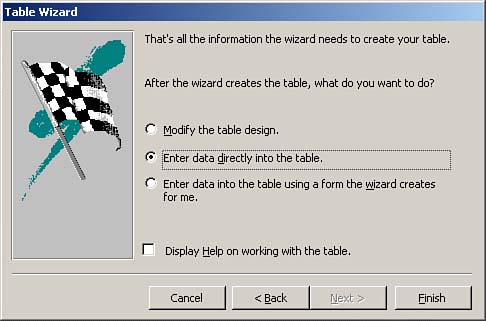
The final dialog box of the Table Wizard, shown in Figure 6.11, allows you to indicate whether you want to modify the design of the table, enter data into the table, or let Access automatically build both the table and a data-entry form for you. Click Finish to complete the process. Access creates the table with the options that you specified.
 |