Building a Form by Using a Wizard
Just as the wizards we've looked at so far in this hour can give you a jump start when creating tables and queries, the Form Wizard can give you the help you need to get started with building forms.
To create a form with the Form Wizard, follow these steps:
Select the Create Form by Using a Wizard icon with the Forms icon selected from the Objects list. You can also select Form Wizard from the New Form dialog box and click OK.
 | Another way to start the Form Wizard is to click the Tables or Queries icon in the Objects list and then select the table or query you want the form to be based on. From the New Object drop-down list box on the toolbar, you select Form; this opens the New Form dialog box. Then you select Form Wizard. You don't have to use the Tables/Queries drop-down list box to select a table or query because Access automatically selects the table or query you selected before invoking the wizard. |
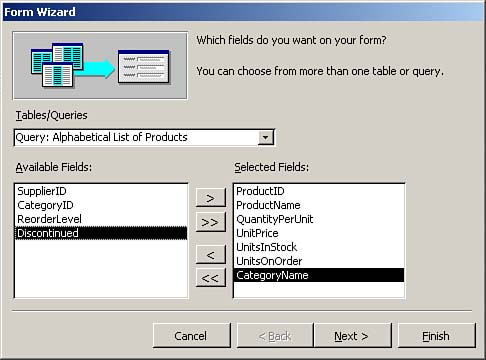
The Form Wizard prompts you for the name of the table or query you want to use as the form's foundation (see Figure 6.15). Whether you're creating a form with the Form Wizard or from Design view, it's generally best to base a form on a query or on an embedded Structured Query Language (SQL) statement (that is, a query stored as part of a form). Doing so offers better performance than basing a form on a table (unless a form requires all fields and all records), allows for more flexibility, and lets you create a form based on data from several tables. Figure 6.15 shows the Tables/Queries drop-down list box, in which all the queries and tables are listed, followed by all the queries.

After you select a particular table or query, Access displays its fields in the Available Fields list box (see Figure 6.16). To select the fields to include on the form, double-click the name of the field or click on the field, and then click the right-arrow button. In the example shown in Figure 6.16, several fields from the Alphabetical List of Products query in the Northwind sample database are selected. Select the fields you want and then click Next.
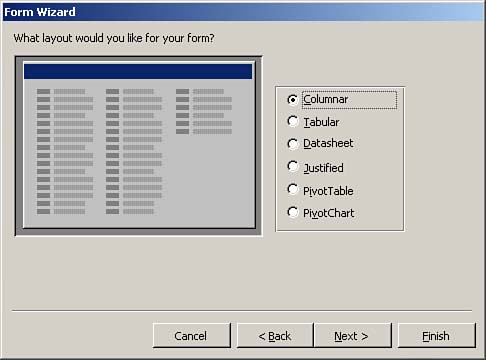
The second step of the Form Wizard allows you to specify the layout for the form you're designing. You can select from Columnar, Tabular, Datasheet, Justified, PivotTable, and PivotChart layouts (see Figure 6.17); the most common choice is Columnar. Select a form layout and then click Next.
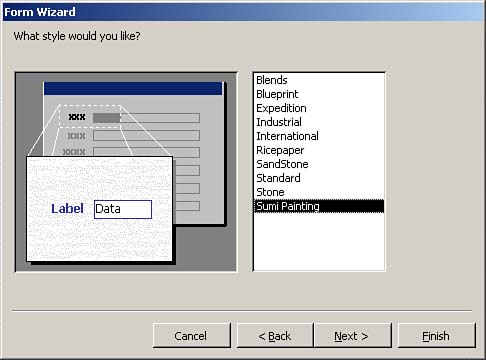
In the third step of the Form Wizard, you can select a style for a form from several predefined styles (see Figure 6.18). Although you can use Design view to modify all the properties set by the wizard after the wizard creates the form, to save time, it's best to select the appropriate style while you're running the wizard. Select a style for your form and then click Next.
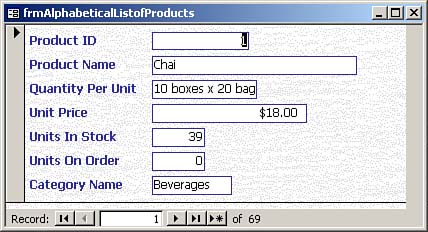
In the final step of the Form Wizard, supply a title for the form. (If you just accept the default, the form will have the same name as the underlying table or query, which could be confusing.) Unfortunately, the form's title becomes the name of the form as well. For this reason, you should type the text you want to use as the name of the form. If you want to follow standard naming conventions, you should begin the name of the form with the tag frm. Later, if you want to change the title of the form, you can do so in Design view. This last step of the Form Wizard also lets you specify whether you want to view the results of your work or open the form in Design view. It's usually best to view the results and then modify the form's design after you have taken a peek at what the Form Wizard has done. Click Finish. Figure 6.19 shows an example of a completed form.
 |