| [ Team LiB ] |
|
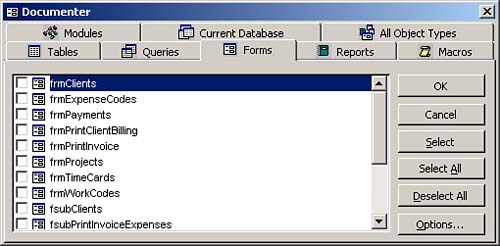
Using the DocumenterThe Documenter is an elegant Access tool. It enables you to selectively produce varying levels of documentation for each object in a database. To use the Documenter, follow these steps:
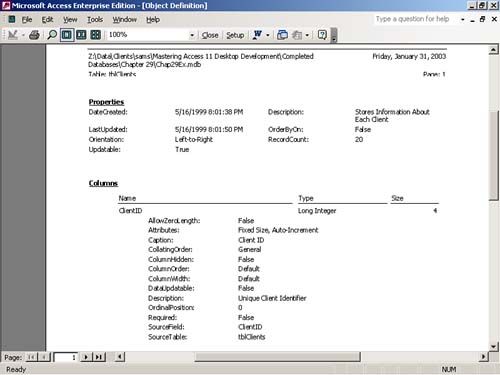
After you select all the desired objects and options and click OK, the Object Definition window appears. You can use this window to view the documentation output for the objects you selected (see Figure 21.12). This window is just like any other Print Preview window; you can use it to view each page of the documentation and send the documentation to the printer. Figure 21.12. The Object Definition Print Preview window.
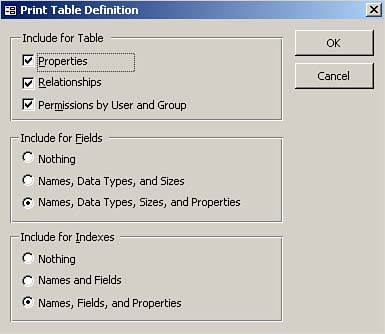
Using the Documenter OptionsBy default, the Documenter outputs a huge volume of information for each selected object. For example, the Documenter documents each control on a form, including every property of a control. It is easy to produce 50 pages of documentation for a couple database objects. Besides being a tremendous waste of paper, this volume of information is overwhelming to review. Fortunately, you can refine the level of detail provided by the Documenter for each category of object you are documenting. To do so, you just click the Options button in the Documenter dialog box. Figure 21.13 shows the table definition options. Notice that you can specify whether you want to print table properties, relationships, and permissions by user and group. You also can indicate the level of detail you want to display for each field: Nothing; Names, Data Types, and Sizes; or Names, Data Types, Sizes, and Properties. For table indexes, you can opt to include the following: Nothing; Names and Fields; or Names, Fields, and Properties. Figure 21.13. Using the Print Table Definition dialog box to designate which aspects of a table's definition Access should document.
If you select the Queries tab in the Documenter dialog box and then click Options, the Print Query Definition dialog box appears, as shown in Figure 21.14. Here, you can select the level of detail the Documenter will output for the selected queries. You can choose whether to include properties, SQL, parameters, relationships, and permissions by user and group for the query. You also can select the level of detail for each column of the query and for the indexes involved in the query. Figure 21.14. Using the Print Query Definition dialog box to designate which aspects of a query's definition the Documenter should include in the output.
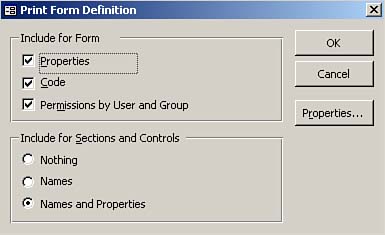
The form and report options are similar to one another. Figure 21.15 shows the Print Form Definition dialog box. Here, you can specify whether you want to print properties, code, and permissions by user and group for a form. For each control on a form, you can choose to print nothing, the names of the controls, or the names and properties of the controls. The Print Report Definition dialog box offers the same options. Both dialog boxes offer a Properties button, which you use to designate the categories of properties that the Documenter prints. You can opt to print other properties, event properties, data properties, or format properties. Figure 21.15. Using the Print Form Definition dialog box to designate which aspects of a form's definition the Documenter should include in the output.
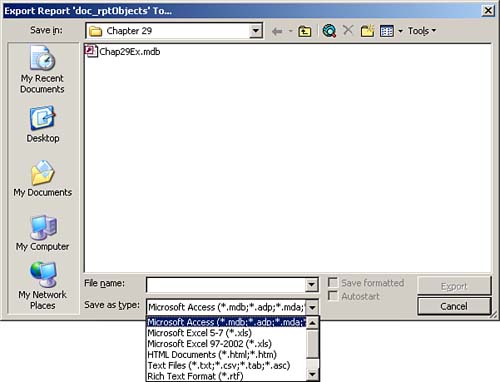
For macros, you can choose whether you want to print macro properties, actions and arguments, or permissions by user and group. For modules, you can choose to view properties, code, and permissions by user and group. As you can see, the Documenter gives you great flexibility in choosing the level of detail it should provide. Of course, if you haven't filled in the properties of an object (for example, the Description property), it does you no good to ask the Documenter to print those properties. Producing Documentation in Other Formats
Figure 21.16. Using the Export Report dialog box to designate the type of file to which the object definition should be output.
|
| [ Team LiB ] |
|