


The Image Manager dialog enables you to insert alternative images in diagrams, rather than inserting standard UML elements. For example, you might want to place a custom background image on a diagram, or display a custom image such as a Router or PC on a UML element.
To display the Image Manager dialog, either:
| · | Right-click on the element within the diagram and, from the context menu, select the Appearance | Select Alternate Image option, or |
| · | Select the element in the diagram and press [Ctrl]+[Shift]+[W]. |
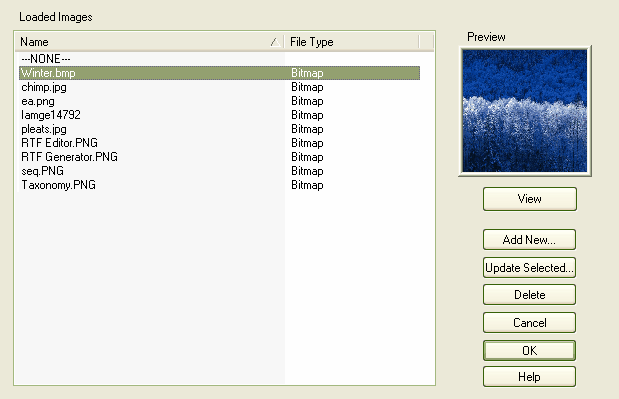
To locate and display an image, click on individual image filenames, or press [#] and [$] to scroll through the list of images. As you highlight each image filename, the Preview panel changes to reflect the image. Double-click on the required image filename to display the image in full size.
On the Image Manager dialog, the following buttons are available:
Dialog Button |
Description |
View |
Displays the selected image in full size. |
Add New |
Enables you to browse appropriate directories to search for and import new images. You can import images in .BMP, .PNG, .EMF, .WMF, .TGA, .PCX or .JPG format. Internally, Enterprise Architect stores the images in .PNG or metafile format to conserve space. |
Update Selected |
Refreshes the selected image; for example, after it has been modified. |
Delete |
Deletes the selected image. A message displays to indicate how many elements use the image. Click on the Continue button to delete information about the image from those elements, which then revert to their previous appearance. |
Cancel |
Closes the Image Manager dialog. |
OK |
Confirms selection of the alternative image for the element selected in the diagram. |
See Also