


Using the Toolbox
To create a Boundary element on a diagram, follow the steps below:
| 1. | In the Enterprise Architect UML Toolbox, select the More Tools | UML | Analysis menu option. |
| 2. | From the Analysis Elements page, drag the Boundary element onto the diagram. |
Using the Properties Dialog
To create a Boundary element using the Properties dialog, follow the steps below:
| 1. | Insert a new Class. |
| 2. | Right-click on the element and select the Properties menu option; the Properties dialog displays. |
| 3. | In the Stereotype field, click on the drop-down arrow and select the value boundary. |
| 4. | Click on the Apply and OK buttons. |
| 5. | Save the diagram ([Ctrl]+[S]). |
The illustration below shows an Actor interacting with a Boundary (in this case, a Login screen).
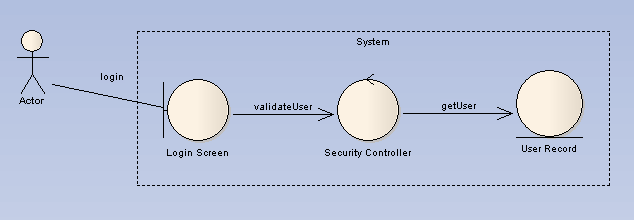
Note: The Model-View-Controller (MVC) pattern is a design pattern for building a wide range of applications that have a user interface, business or application logic and persistent data.