Any one of the following options enables you to resize an element. Select an element or group of elements in the diagram view, then:
| · | Use the resize handles that appear at each corner and side to resize the element(s) by dragging with the mouse (the cursor switches to the double-ended arrow as shown below)
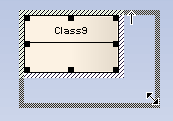
|
| · | Press and hold and use the arrow keys to resize as required |
| · | Use the and options in the submenu |
| · | Autosize selected element(s) using the option in the submenu, or by pressing. (With multiple elements selected, Autosize all selected appears in the right-click context menu) |
| · | Set multiple elements to the same height, width or both, using these options in the submenu, or the options in the right-click context menu. |
Resizing a Set of Objects to a Specific Size
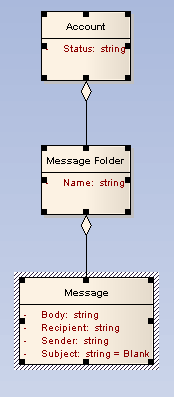
If you right-click a selected set of objects, you can resize them to the same dimensions (height, width or both). When you select multiple elements using click, then resize the dimensions, the dimensions of the selected hatched object are used to set the dimensions of the other selected objects.
For example, in the diagram below, the Message class height and width are used to set the height and width of the Account and Message Folder classes. The aim is to make the Account and Message Folder elements the same height and width as the Message element.
To do this follow the steps below:
| 1. | Set one element to the size you want (eg. Message as above). |
| 2. | Select all other elements (eg. Account and Message Folder as above). |
| 3. | Right-click on the pre-sized element (eg. Message). |
| 4. | Select your resizing option (such as same height, width) from the context menu. |
See Also


