This chapter guides you through the process of creating a new catalog. Secure Access catalog consists of database with information about users, applications, rights etc. and of Web-based administrative user interface that allows you to manage this information.
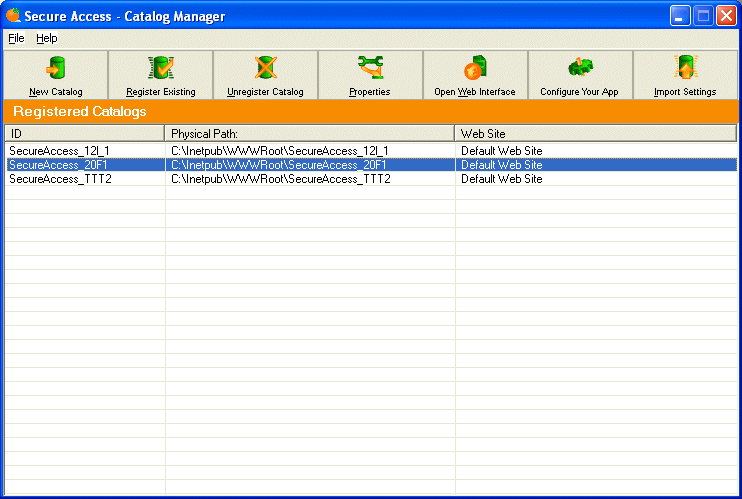
When you start the Catalog Manager, you can see the following screen with main menu and list of catalogs.
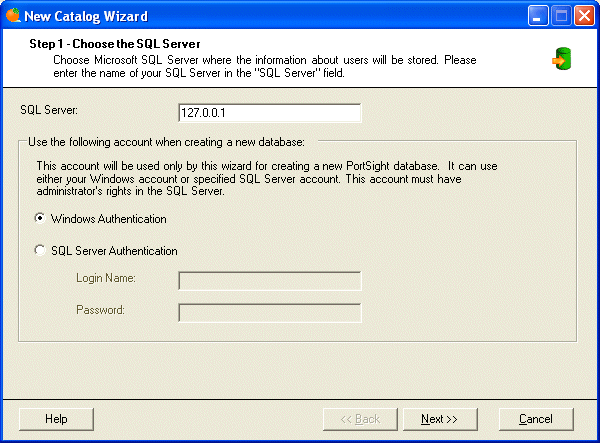
Click the "New Catalog" button. The "New Catalog Wizard - Step 1" dialog appears. Here you can choose Microsoft SQL Server where the information about users will be stored. Please enter the name of your SQL Server in the "SQL Server" field. You also need to choose the account that will be used by the wizard for creating a new database on the SQL Server. This account must have appropriate (administrator's) permissions on the SQL Server. You can choose if you want to use your Windows identity to access the SQL Server or specific SQL Server account (such as "sa" account). After you complete this step click "Next".
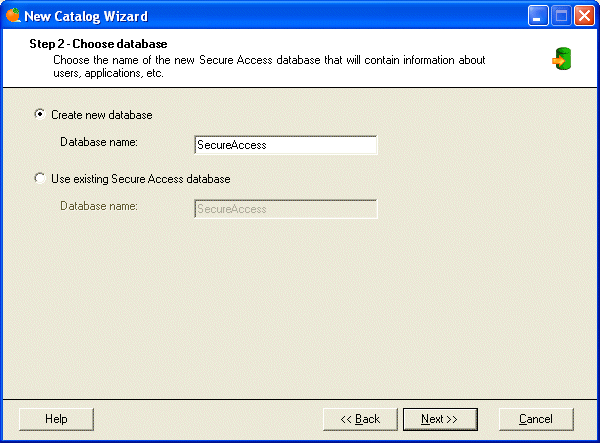
In the next screen, choose the name of the new Secure Access database that will store information about users, applications, etc. You can also choose to use an existing Secure Access database in case you only want to deploy a new user interface. Click "Next".
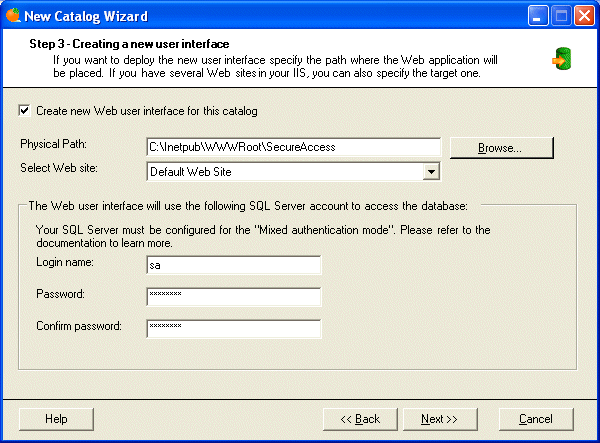
In the third step, you specify if you want to deploy the new user interface (you want to in most cases) and its configuration. Choose the installation path on your disk where the Web application will be placed (typically in the C:\inetpub\wwwroot\SecureAccess folder). If you have several Web sites in your IIS, you can also specify the target Web site.
Then you can choose the user name and password of the SQL Server account that will be used by the Secure Access Web user interface for accessing the SQL Server database. You need your SQL Server to use the "Mixed Mode Security" (see SQL Server Books online for more information). Enter the user name and password and click "Next".
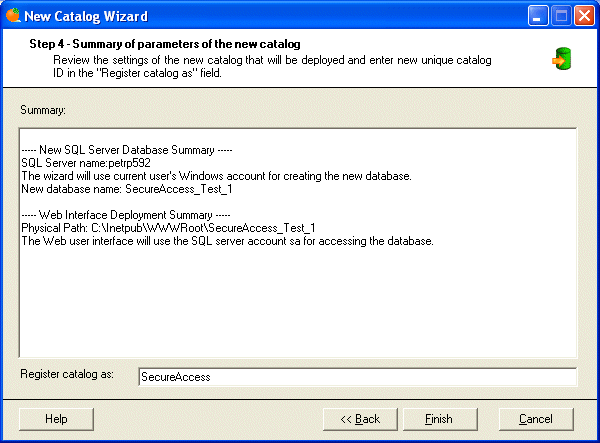
Now you can review the settings of the new catalog that will be deployed and enter new catalog ID in the "Register catalog as" field. This a unique identifier used by the Catalog Manager. If you're satisfied, click "Next".
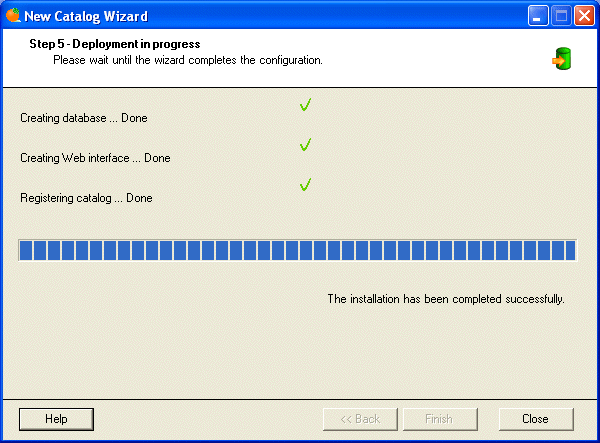
Wait until the new catalog is created and the Web user interface is set up (if you chose it). The progress bar shows you the status of the deployment process. This may take a few minutes.
If the deployment process completes successfully, you will see the message and the Web user interface is automatically opened in a new Internet Explorer Window.
Now that you installed the user interface, you can log on using the user name administrator and password administrator.

|
Important Security Note | |
|---|---|---|
|
It's highly recommended that you change the default administrator's password immediately after creating the new catalog. Click "Users" item in the left menu, click the "eye" icon to view the administrator's account details. Choose "Password" tab and enter the new password. |
||
Next steps
Now that you finished the deployment of the new catalog you continue with following steps:
