Using the AutoForm Feature
You can quickly build forms by using the AutoForm feature. The AutoForm feature gives you absolutely no control over how a form appears, but it provides you with an instantaneous means of data entry.
Creating a Form by Using the AutoForm Feature
Creating a form by using the AutoForm feature is amazingly easy. Here's how it works:
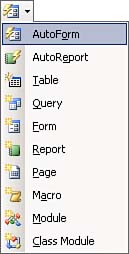
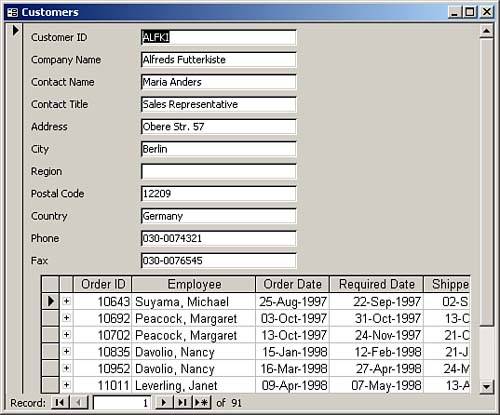
Select the table or query on which you want to base the new form. Select the Customers table for this example. Select AutoForm from the New Object drop-down list box (see Figure 4.16). Access creates a form based on the selected table or query (see Figure 4.17).


Saving a Form
Although Access automatically saves all the data changes that you make to a form, it is up to you to save all the design changes that you make to the form. As you work with the design of a form, you should periodically click the Save tool on the toolbar to save changes. When you close the form, Access prompts you to once again save your changes. Here's the process:
Choose File | Close. A dialog box appears, asking if you want to save your changes. Click the Yes button. If you have not yet named the form, Access prompts you with the Save As dialog box, asking you to provide a name for the form. Enter a form name and click OK.
 | Naming standards suggest that you use the frm prefix to name a form. |
 | The name of a form can be up to 64 characters and can contain text, numbers, and spaces. |
 | Subdata datasheets are available within forms, just as they are in datasheets. |
 |