The Tools tab on the Customize dialog provides a means of extending the power of the Enterprise Architect desktop. From here you can configure custom tools and make them accessible from the . You can create menu options that link to different applications, compilers, batch scripts, automation scripts, URLs or documentation.
Add and Configure Custom Tools
| 1. | Select the menu option. The Customize dialog displays. |
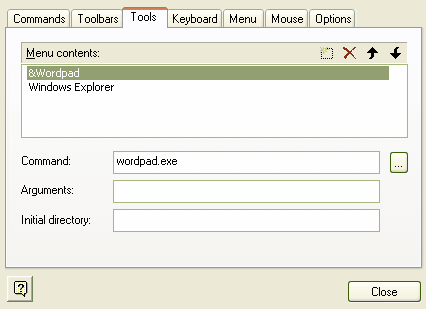
| 2. | Click on the Tools tab.
|
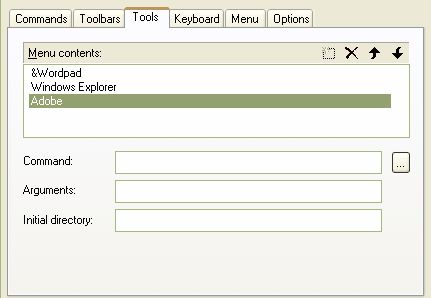
| 3. | Click on the icon (left of the red X ). A blank field displays in the Menu contents list.
|
| 4. | Type in the name of the tool as it should appear in the menu. |
| 5. | In the field, type the name of the tool.exe file to use; the tool must be a valid filename. |
Note: Programs installed with your operating system (eg. Notepad, Wordpad) do not require a full file path. Programs installed separately (eg. Microsoft Visual Studio) require the full file path in the field. If necessary, use the(Browse) button to locate the tool in the file system (see Using Parameters).
| 7. | Close the Customize dialog. Your tool should have now been added to the menu as shown below.
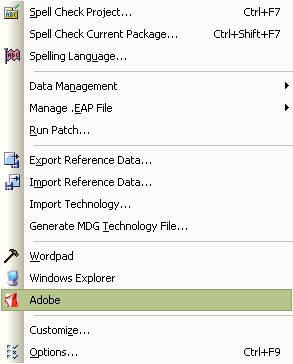 |


